Search This Blog

Friday, July 20, 2012

Crockpot Chicken Lettuce Wraps

If you don't subscribe to Cuisine at Home yet....you should.  It is an awesome publication with great recipes...how to's and tips.  My blog this week comes from my 'free gift with purchase of subscription' Slow cooker menus.
I love my Crockpot and have decided that it just gets better with time....the more and more recipes I try in it, the more I love it!  I have had the Crockpot I used for this recipe since 1997.....which was back when I needed a Crockpot to make Rotel dip!!!! (the only thing I used it for over a decade)
This recipe was delicious...and will become a regular in our rotation of dinners.....it takes a little prep before putting it in the Crockpot...but well worth it!

For the Chicken:
1 Tbsp sesame oil
2 lb. ground chicken (I like Smart Chicken)
1 Tbsp minced fresh ginger
1/4 C dry sherry
1/2 C hoisin sauce
2 Tbsp soy sauce
1 Tbsp chili garlic sauce (the best is the one with the rooster on it...in the Asian aisle)
1 8oz. can water chestnuts, drained and chopped
2 Tbsp rice vinegar
Salt to taste

Heat oil in skillet and add chicken cooking for 10 minutes, breaking up chunks.
Add ginger, cook 2 minutes. 

Deglaze skillet with sherry, cooking until liquid is evaporated.  

Transfer mixture to slow cooker (3 qt works well).
Combine hoisin, soy sauce, and chili garlic sauce in a measuring cup and stir into meat mixture.  
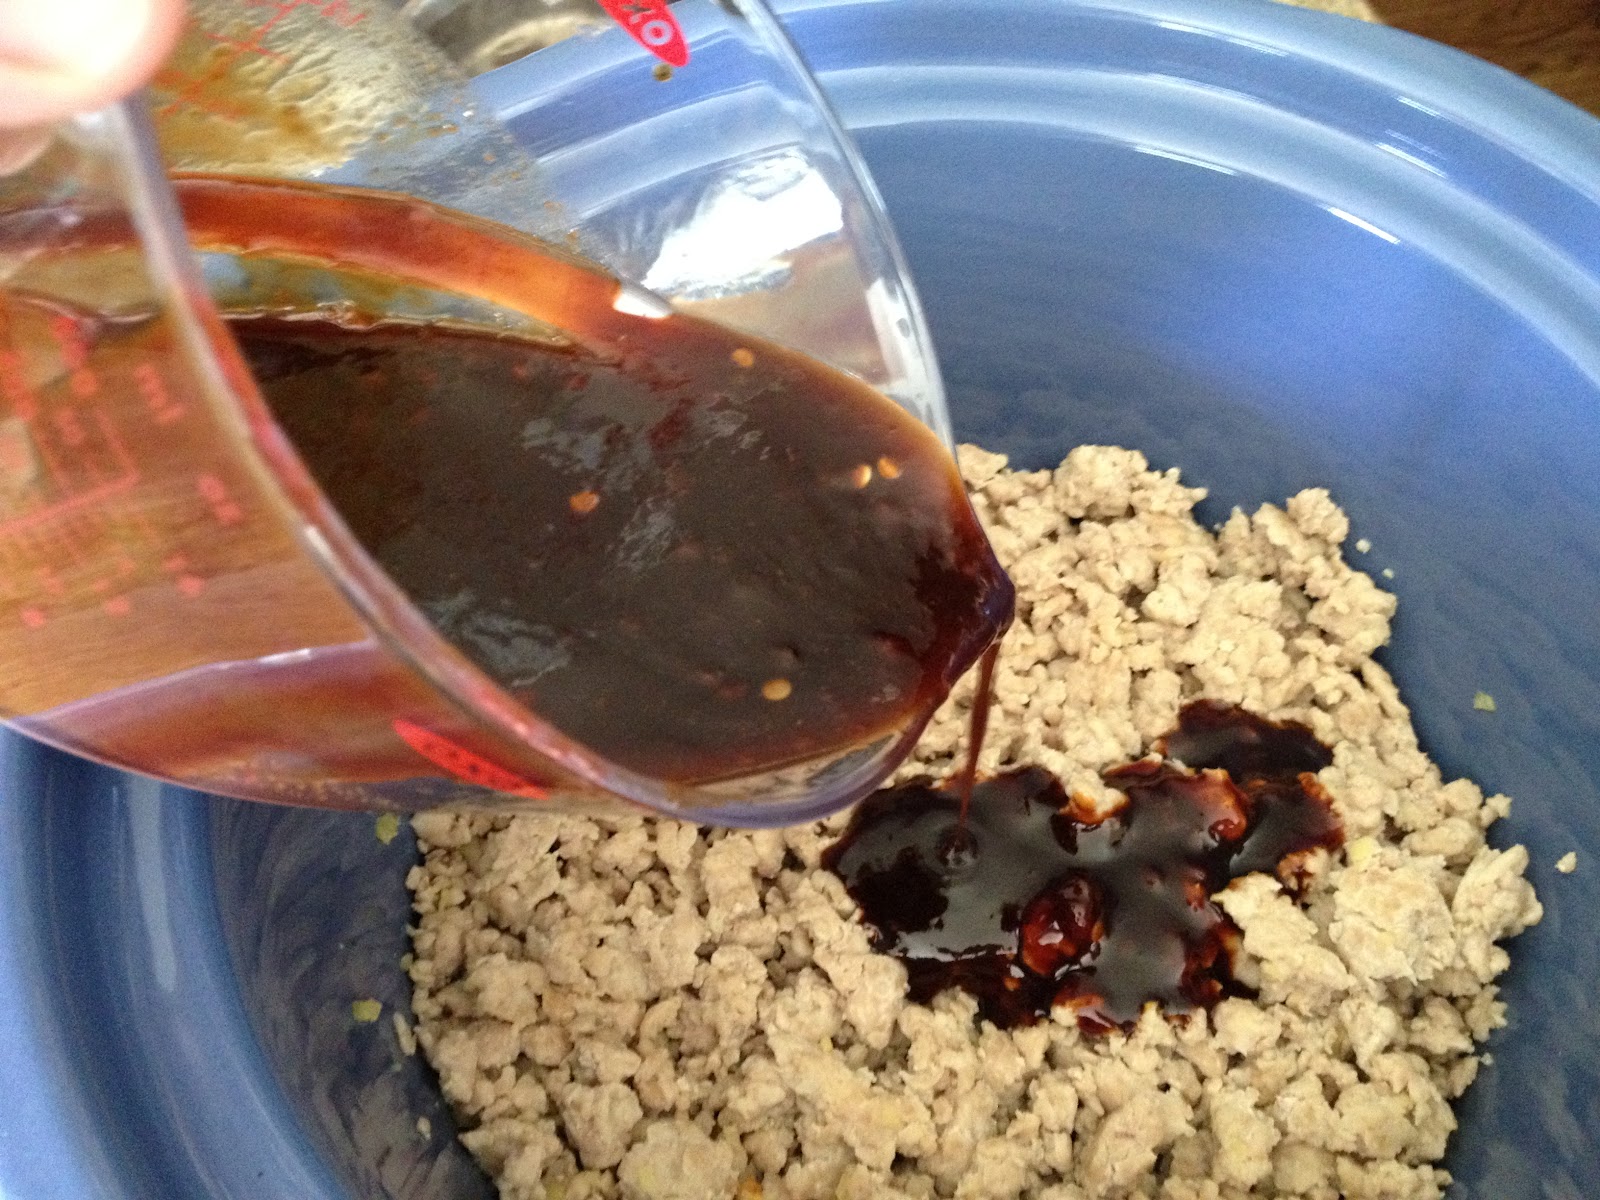
Cover;cook on high for 2 to 3 hours or low for 3 to 4 hours.
OH.....remember when blue and white was all the rage!!!!
Stir in water chestnuts, vinegar, and salt.

For the wraps....you can use your imagination.....I used Iceberg lettuce leaves (some like Bibb) and red bell peppers to garnish......and lots of Rooster sauce to make them spicy!!!!

I have had them topped with all kinds of veggies, sesame seeds, peanuts...etc......have fun with them.
Super Yummy!!!!
If you are ever out in Kansas City....stop by Blue Koi and try their lettuce wraps.........worth the trip:-)


Tuesday, July 10, 2012

Quick and Easy crock pot chicken

If you've been reading this blog much, you have probably noticed that I do a lot of slow cooker (aka Crock pot) recipes.  Yep, that's me.  I used to be afraid of experimenting with a slow cooker...I know that's weird, but I think it's because it's magical.  Seriously, you put all this food into the crockpot, turn it on, go away; and then when you come home you have a great tasting, juicy meal ready.  It's magic! 


Well, I've gotten over my fear of experimenting and have come up with the recipe for the best tasting, juiciest chicken around!  And it is super easy!

I used a dry brine...have you seen these?  They are at most grocery stores, and are a super time saver. You can rub the brine on them and wait about 15 mins...or it can stay on longer if you have the time.  I put the dry brine on my chicken the night before, covered and put in the refrigerator, so everything was ready to go the next morning.  


Here's the recipe and steps:
4 chicken breasts with skin on and bone in...this helps keep the flavor in!
1/2 cup dry brine (you may need more depending on the size of your chicken)
1 t. paprika 
1 t. dried rosemary
2 t. black pepper
2 t. seasoned salt
1 can of cream of chicken soup
1 med onion roughly chopped
5 - 6 button mushrooms, quartered
1 - 2 cups baby carrots (or how many you want to eat...they make the side dish)

Put the brine on the chicken and let set for 15 - 30 mins (or overnight).  
Rinse off the brine and put the chicken in the crockpot

Sprinkle seasonings (paprika, rosemary, pepper and seasoned salt) over the chicken.

Pour the can of soup over the chicken, and cover with the vegetables.

Cook on low for 8 - 10 hours
 
The chicken will be nice and moist and the soup and vegetables will make a nice 'sauce' to put over the chicken.  I severed the vegetables as a side, which made it a great all in one dinner! 


Keep (slow) cooking!
Dee

Thursday, July 5, 2012

Frozen Breakfast Burritos


Get ready to make breakfast where you can grab, heat and go...and it's not chalked full of preservatives!  

I'm always looking for things that I can make for breakfast that are fast and easy to take to work.  The frozen breakfast items in the grocery store are tasty, but they are usually high in calories and and fat, and are getting to be very expensive. 

This recipe is actually a two-fer!  You first make a breakfast casserole in a crock pot...so it's a time and money saver...then you use the leftovers to make breakfast burritos and freeze them for your portable breakfast greatness.  

The crock-pot breakfast casserole recipe is from another blog, that I tried for a trip to the lake, which was super easy to make, but made a LOT.  Since I had all the leftovers, I thought... why not use them to make some breakfast burritos to freeze and take to work during the week?!  

So, here's the steps for making the burritos...

To start out with, follow the link to the breakfast casserole recipe... http://www.alattewithotta.com/2010/11/crock-pott-recipe-egg-brunch-casserole.html.  I did make some adjustments to it spice it up a bit.  Not burn a hole in your stomach hot, just add more flavor... Here are the ingredients I added, but other than that, I followed the recipe (surprising for me!):
- 1 tsp paprika
- 1 tsp black pepper
- 1/2 tsp cayenne pepper
- 1 small can of green chiles

After you've made and enjoyed the breakfast casserole, it's time to make the burritos!
Here's what you need to make the burritos (this assumes you have enough casserole left over for 10 burritos):
- leftover breakfast casserole
- 10 soft taco size tortillas (10 inch)
- 1 cup shredded cheddar cheese
- Frank's hot sauce


Directions:
Place the tortillas on a microwave safe plate and heat up the tortillas.  Place a tenth of each of the items (casserole and shredded cheese) on the tortilla, and shake some hot sauce over the eggs.  Fold the tortilla to form a burrito...fold sides in first, then fold the end closest to you over and roll up.  


Once you have the burritos made, take some wax paper and roll the burritos up, and twist the ends so they stay wrapped.  They look like little gems of goodness!  Place in a freezer bag and throw in the freezer.  


The next morning, when you're hungry and running out the door, grab a burrito out of the freezer and pop it in the microwave for 1 - 1 1/2 minutes...depending on your microwave, of course.  You can use the wax paper as a wrapper you can use as you hold the burrito to munch on as you go on your way.  

Enjoy!
Dee